
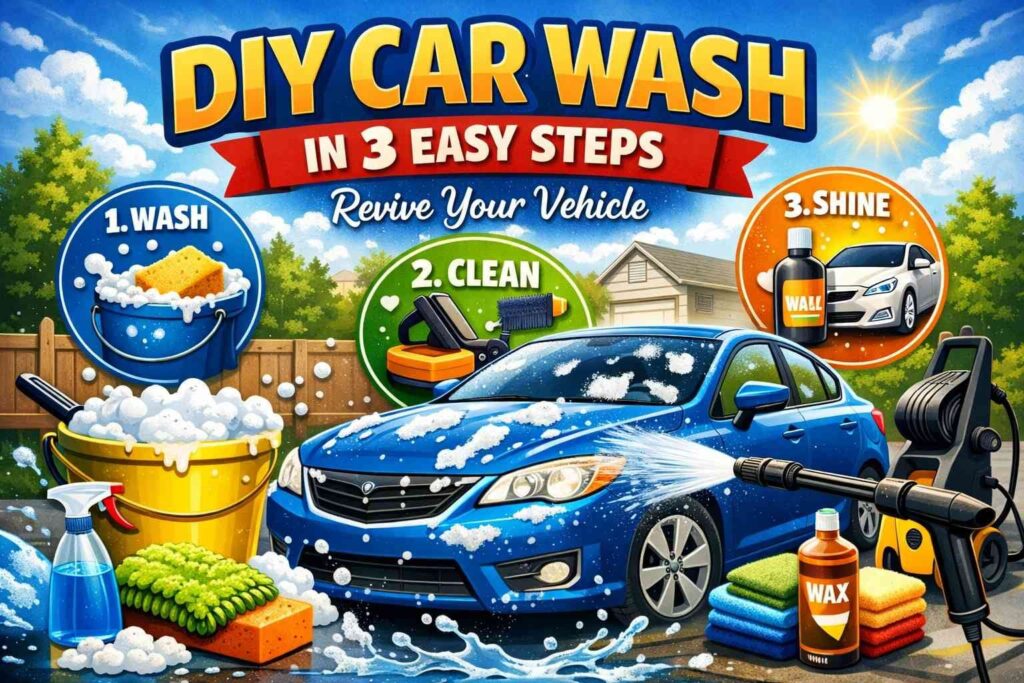
A simple diy car wash guide anyone can follow
Washing your car at home feels a bit like therapy. You get some fresh air, your hands stay busy, and you end up with a cleaner ride. A simple routine based on proper car washing technique can also help protect your paint and keep the car looking fresh for longer.
A clean car fits naturally into any basic car maintenance routine, especially if you’re trying to keep long-term costs under control.
This guide breaks the whole thing down into just three easy steps. The kind you can actually remember the next time you grab that bucket and hose.
I’ve tried this routine on dusty city cars, slightly neglected hatchbacks, and even a friend’s SUV that hadn’t seen soap in months. It works. It’s quick. And it’s perfect if you want a diy car wash method that feels doable, not overwhelming.
Let’s get into it.
Why a Simple Routine Works Better
I’ve seen people turn car cleaning into a huge task and honestly, that usually ends with them giving up halfway. A simple routine stays consistent, you actually do it and your car ends up looking nicer more often.
A quick diy car wash also helps:
-
Keep paint in better shape
-
Slow down rust
-
Remove dirt before it sticks too hard
and if your weekends are always packed, this three-step method saves time while still getting real results.
Step 1: Rinse and Shake Off the Heavy Stuff
This part is easy. Just water and a bit of common sense thats how easy is this diy car wash routine
What You Need
-
Hose or pressure sprayer
-
A clean bucket
-
Light detergent if your car is super grimy
How to Do It
Start from the top always, dirt moves down as you spray and this small habit stops you from pushing muck onto areas you have already washed.
Cover these spots one by one:
-
Roof
-
Windows
-
Bonnet
-
Doors
-
Boot
-
Tyres and wheel wells
Don’t rush, a slow rinse removes more than you think. Sometimes half the dirt falls off before soap even enters the picture.
Why This Works ?
When the surface is wet and loose dirt is already gone, you don’t drag sand across the paint later. That means fewer swirl marks, fewer scratches, and a smoother wash overall.
I didn’t know this in my early washing days. I once scrubbed a dry fender and ended up with tiny scratches everywhere. Learned it the hard way.
While washing the exterior, it’s a good reminder that car interior maintenance matters just as much if you want the whole vehicle to feel clean.
Step 2: Wash With a Soft Touch
This is where the real cleaning happens. But it doesn’t have to feel tiring, because we are doing a diy car wash that is simple and efficient to get into your routine.
What You Need
-
Two buckets (one for soap, one for rinsing)
-
Microfiber wash mitt or soft cloth
-
pH-safe car shampoo
-
Optional: small brush for badges and corners
The Two-Bucket Method
If you’ve never tried this, it’s basically:
-
Bucket A: Soapy water
-
Bucket B: Clean water for rinsing your mitt
You dip in the soap, wash a section, rinse the mitt in the clean bucket, then go back for soap. It keeps the dirty water out of your main bucket.
How to Wash
Break the car into easy zones. Something like:
-
Roof
-
Glass
-
Bonnet
-
Upper doors
-
Lower doors
-
Rear section
-
Bumpers
-
Wheels
Wash each part in straight strokes. Not circles. Circles make it easier to see marks in sunlight if something gets dragged across the paint.
Rinse each section as you go. Warm days dry the water fast and dried soap makes streaks that are annoying to remove later.
Step 3: Dry and Protect
Drying gets skipped a lot, but skipping it creates water spots. Those spots can etch the paint if you use hard water.
What You Need
-
Microfiber drying towel
-
Spray wax or quick detailer (optional, but it helps)
How to Dry
Use light pressure. Let the towel glide. Don’t rub hard. Start from the roof again and let gravity help.
Cover:
-
Roof
-
Glass
-
Bonnet
-
Doors
-
Mirrors
-
Boot
-
Bumpers
-
Tyres
If you use spray wax, apply it when the surface is slightly damp. It spreads easier and looks smoother.
Why Add a Light Wax Layer
You don’t need a deep waxing session every time. A quick spray wax gives:
-
A cleaner shine
-
Mild water resistance
-
Slight protection from dust
-
Longer gaps between full washes
Feels small, but adds up.
Extra Tips to Make Your Diy Car Wash Even Better
These aren’t part of the three steps, but they help a lot in your diy car wash routine.
Choose the Right Time of Day
Early morning or late afternoon works best, because sun dries soap too fast.
Keep a Dedicated Set of Tools
Using your kitchen sponge on a car never ends well. Even old cloth from the house carries tiny particles you don’t want on paint.
Rinse Your Buckets Before Storing
If dirt sits inside, you’ll be rubbing that on your car the next week.
Wash Wheels Last
They hold the most grime. Doing them earlier risks spreading brake dust to clean areas.
Personal Habit That Helps Me
I keep a small microfiber cloth in the car, if a bird drops something on the bonnet, I just wipe it off right away instead of letting it sit for days.
FAQ’s About Diy Car Wash
How often should you wash your car?
For most people, once every week or two keeps things under control. If your area is dusty, maybe a bit more often.
Can regular detergent damage paint?
Yes. Most household detergents strip protective layers. A car shampoo is safer, cleaner, and not much more expensive.
Do expensive tools make a difference?
Only sometimes. A pressure washer helps, but you can do a great car wash diy with a simple hose and buckets.
Why avoid circular scrubbing?
Straight lines hide better. Circles show up fast in sunlight if scratches appear.
Mistakes to Avoid During a DIY Car Wash
Most people make these mistakes at least once. I’ve made a few myself.
Washing in the Sun
Soap dries fast and leaves streaks.
Using One Bucket
Dirty water keeps going back onto your car.
Using Old T-shirts
They look soft but have rough fibers.
Scrubbing Bird Droppings Too Hard
Soak them first with water. Then wipe.
Forgetting Door Jambs
These spots gather dirt and look strange when the rest of the car is clean.
A Simple Diy Car Wash Routine You Can Stick To
A car wash doesn’t need to feel like a project. Just three steps:
-
Rinse away loose dirt
-
Wash with a soft touch
-
Dry and protect
This little system works for all types of cars. It’s quick. It’s gentle. And it’s something you can repeat every week without feeling tired of it.
If you’re someone who enjoys taking care of your ride, this diy car wash routine feels satisfying without eating up your whole day.
And the more you do it, the better you get at noticing small details—spots you missed, places that need extra rinse, corners that collect dirt. Over time, you build your own rhythm. That’s the real trick to keeping a car clean.